
Blog
The Second World War resulted in the deaths of around 85 million people. Additionally, tens of millions more people were displaced. However, amid all the carnage, people demonstrated remarkable courage, fortitude, compassion, mercy and sacrifice. We want to honour and celebrate all of those people. In the War Years Blog, we examine the extraordinary experiences of individual service personnel. We also review military history books, events, and museums. We also look at the history of unique World War II artefacts, medals, and anything else of interest.

War Stories and Myths: Revisiting the Falklands, the Denison Smock, and Arnhem’s Legacy
In this blog article, I bring together reviews of books and documentaries that revisit the Falklands War, unravel the myths of the Denison smock, and challenge long-held beliefs about Arnhem and Operation Market Garden. Join me as I explore how personal accounts and new evidence reshape our understanding of these pivotal moments in military history.
In recent months, I’ve been reading a range of books and viewing a series of documentaries exploring the realities of twentieth-century conflicts. From the windswept battlefields of the Falklands to the airborne drops of Operation Market Garden, these works both in print and on YouTube challenge accepted narratives, expose enduring myths, and offer fresh perspectives on events that continue to shape our understanding of war. In this article, I combine reflections on various military history books and videos to create a narrative about how easily historical facts can become obscured over time.
The Falklands War: Personal Accounts and Broader Perspectives
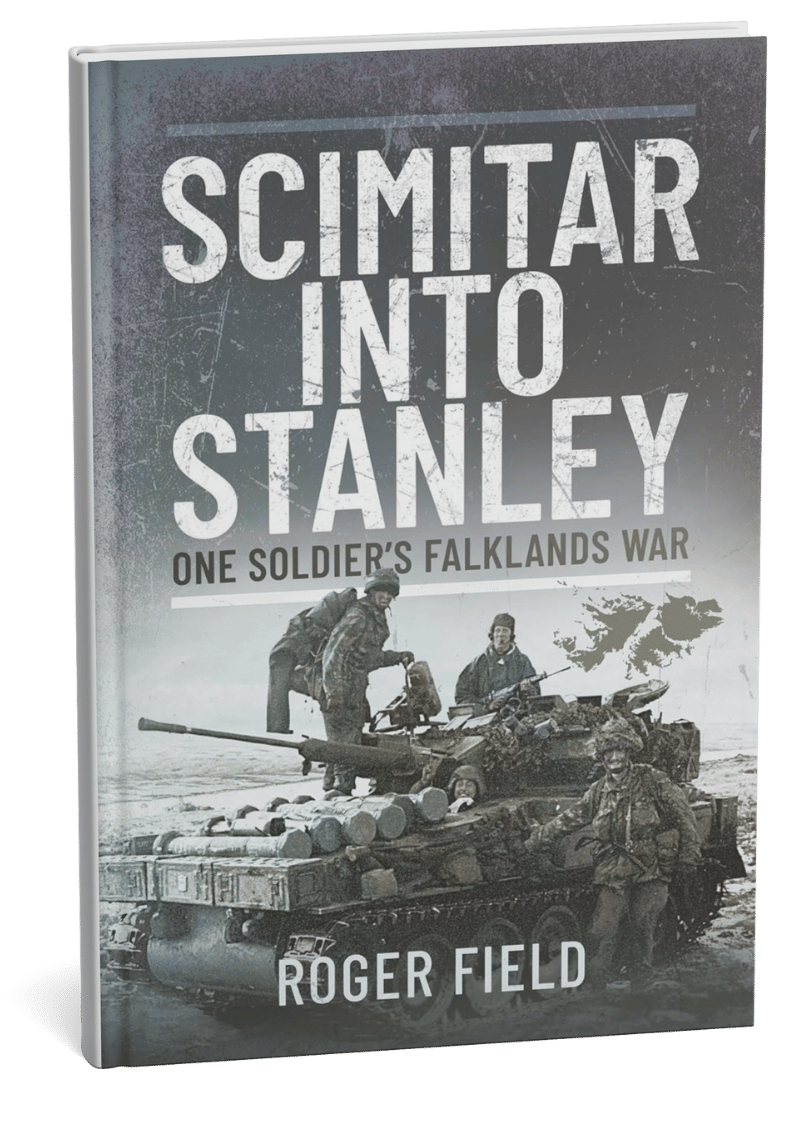
Roger Field’s Scimitar into Stanley (2022) offers a first-hand account of his experiences with the Blues and Royals during the 1982 Falklands War. Initially a staff officer, Field found himself commanding a Scimitar armoured car in battle, famously leading the charge into Port Stanley with journalist Max Hastings clinging to the back of his vehicle. The book is laced with humour, sometimes laugh-out-loud funny, though in today’s climate of political correctness, some may find parts of the text a little too candid. Field doesn’t shy away from naming names or calling out poor leadership, particularly criticising Brigadier Sir Tony Wilson. Yet, he’s equally honest about his own post-war struggles. The result is an open and honest personal account of modern conflict.
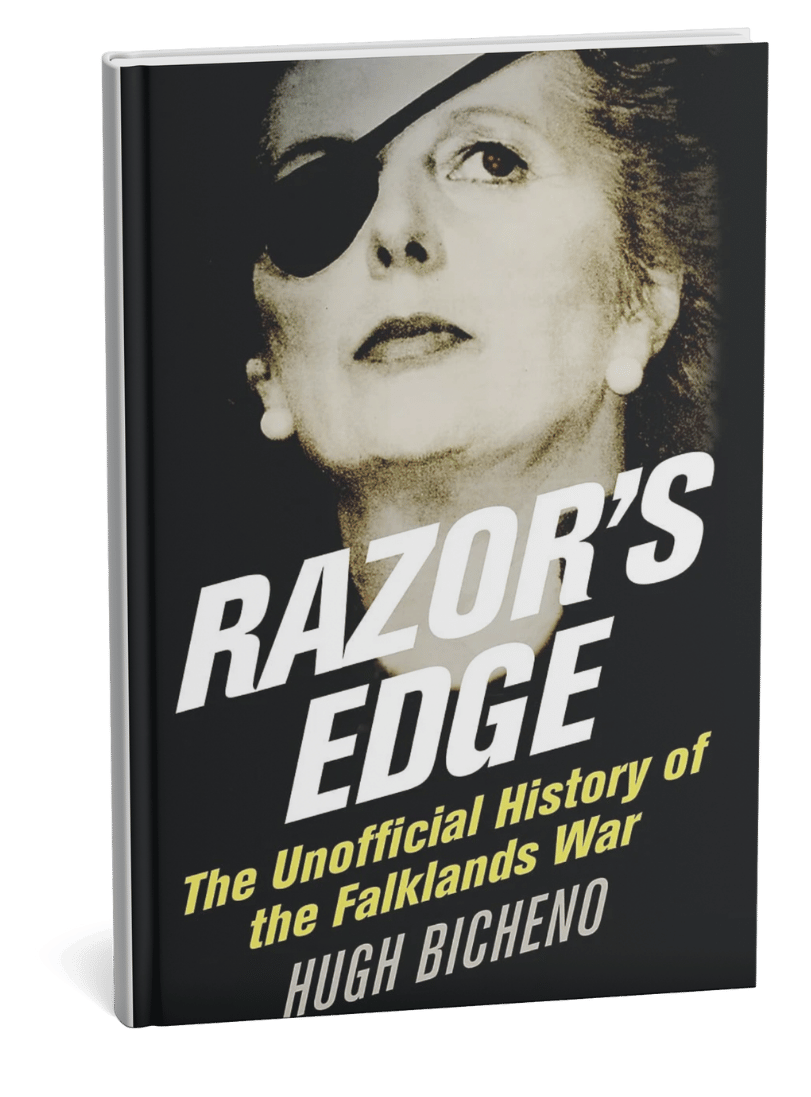
For those seeking a broader view, Hugh Bicheno’s Razor’s Edge (2007) steps back to examine the origins of the conflict. Bicheno, a former British spy in Argentina, foresaw the coming war, but his warnings fell on deaf ears in Whitehall. He spares no one in his critique, lambasting the Foreign Office, Civil Service, and politicians. The book is notable for its inclusion of the Argentine perspective, often overlooked elsewhere, and for its detailed descriptions of the campaign’s battles from both Argentine and Allied viewpoints. Bicheno highlights the role of chance in victory and defeat, and his unsparing criticism is directed at all parties in what he sees as an avoidable conflict. Interestingly, his book is used as a text at Argentina’s war college, a testament, perhaps, to its thoroughness.
If you want the soldier’s view, read Field. For the bigger picture, turn to Bicheno. Both are well worth your time.
Justice Denied: The Welsh Guards and the Sir Galahad Cover-Up
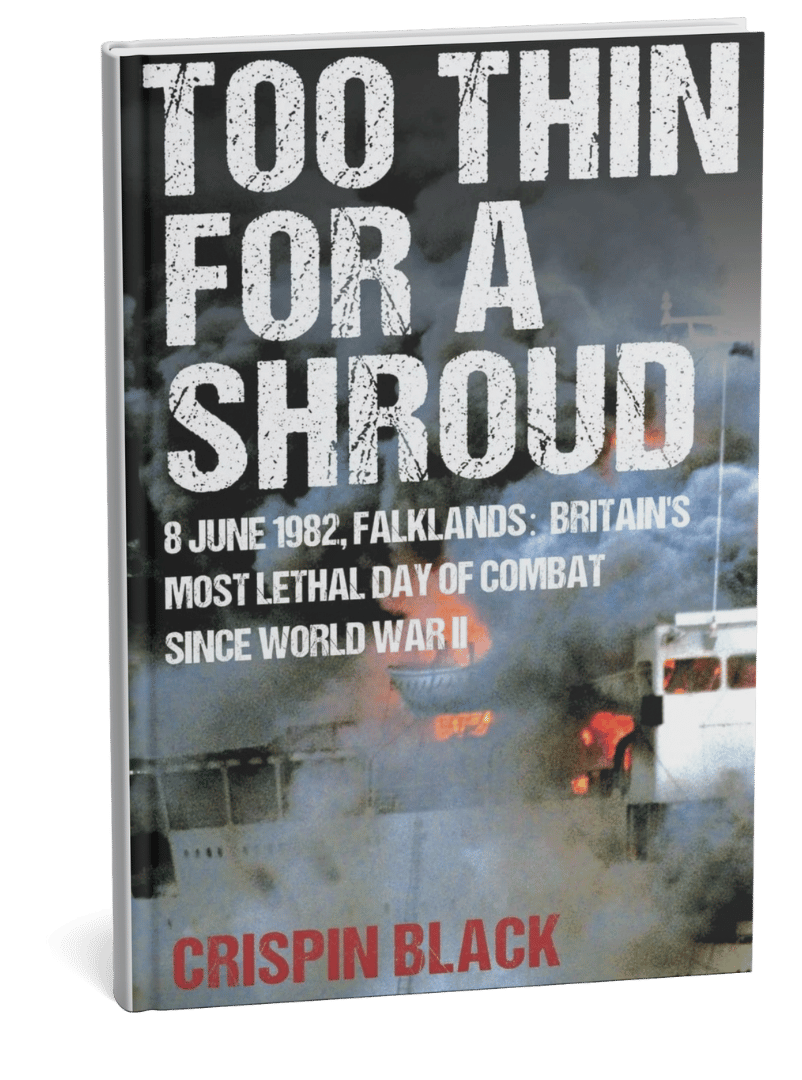
Another recent read, Too Thin for a Shroud by Lieutenant-Colonel Crispin Black (2023), delves into the bombing of the Royal Fleet Auxiliary’s Sir Galahad by the Argentine Air Force on 8 June 1982, the British Army’s deadliest day since 1945.
The Book's Claims
Black documents how 48 men died when Argentine A4 Skyhawks bombed Sir Galahad at Port Pleasant, Fitzroy. The ship was in the wrong location and lacked proper air defence. Packed with Welsh Guardsmen, Sir Galahad sat exposed in broad daylight for over six hours.
Using newly declassified Board of Inquiry documents from The National Archives, Black demonstrates that no direct orders to disembark were given to Major (later Colonel) Guy Sayle and the Welsh Guards. For 40 years, he was wrongly blamed for failing to disembark the troops. The inquiry proves this false. Black argues that senior Royal Navy and Royal Marines commanders made cascading failures: wrong location, defective landing craft, no air defence, and poor communications. The inquiry’s findings were classified until 2065, 83 years after the event.
The declassified files state, “At no time was a direct order to disembark given to Major Sayle by a superior officer.” Colonel Guy Sayle’s daughter has spoken to the media about how her father was made a “scapegoat” for the disaster, and now the Ministry of Defence (MoD) has said it “in no way blames” the Welsh Guards for the losses that day. Colonel Sayle died in 2022. According to Emma Sayle, her father died “haunted and penniless”.
Critical Reception
Unsurprisingly, reviews of Black’s book split sharply along service lines. Welsh Guards veterans and families praised the book as vindication. Royal Navy and Royal Marines personnel frequently criticise it as biased. The conservative Daily Telegraph called it “a repository of damning facts.” The Spectator acknowledged it “shows the Welsh Guards in a new light”, but questioned broader claims. In the court of public opinion, Amazon reviews range from five-star praise for the book's formidable detective work to one-star criticism for an inaccurate rewriting of history.
Senior commanders mounted coordinated rebuttals. RUSI Journal published responses from Major General Julian Thompson, Rear Admiral Jeremy Larken, and other Falklands officers. They challenged Black's interpretations whilst acknowledging errors in the original inquiry. Rear Admiral Larken contacted Black's publisher before reading the book, claiming the Welsh Guards were “unprofessional.” The Mirror reported that Larken claimed the Welsh Guards were an unprofessional and poorly led unit responsible for “pilfering” on his ship. Personally, if true, I think this statement says all we need to know about Larken.
On the flipside, General Sir Michael Rose supported Black's findings, suggesting a “cover-up” on national television.
Political Fallout
The book triggered parliamentary debates. On 25 March 2024, MPs pressed for the release of the documents. Sir Iain Duncan Smith stated: “There is now no question but that some kind of cover-up took place.” Defence Minister Andrew Murrison formally exonerated the Welsh Guards: “The board of inquiry is quite clear...the Welsh Guards were absolutely exonerated.” You can read the full transcript of the House of Commons debate on the Hansard website.
In May 2024, the MoD released 62 pages of previously classified documents. These largely confirmed Black's central claims: no orders were given to the Welsh Guards to disembark, the ship was sent to the wrong location, inadequate landing craft were available to offload the vessel, and no air defence was established.
Luckily for the families of those lost, the wounded and veterans, Black's credentials proved difficult to ignore by the Government, MoD and Navy. After all, he was on board Sir Galahad that fateful day, worked for the Cabinet Office as an intelligence adviser, and received an MBE for his work with the Defence Intelligence Staff during the crisis in the Former Yugoslavia. He is also a frequent contributor to the BBC and major British newspapers on terrorism and intelligence matters.
Crispin Black's book focuses on the bombing of RFA Sir Galahad, the subsequent cover-up, and the release of documents that prove the Welsh Guards were not to blame. He successfully campaigned for the declassification of these documents, which led to the official exoneration of the Welsh Guards after 42 years. While some critics question his interpretation of the events during the Falklands War, they present little counter-evidence. Many fundamental questions remain, and numerous documents will stay classified until 2065. Furthermore, no public inquiry has been announced. Black's work has challenged the previously accepted “official” narrative that unfairly scapegoated the Welsh Guards, turning it into an ongoing controversy.
Unravelling the Myths: The Denison Smock
On a lighter note, my recent purchase of a reproduction 1972-pattern Denison smock led me to a fascinating YouTube video by David Willey, formerly of The Tank Museum: “So you thought you knew about Denison Smocks…” The Denison smock, with its distinctive “brushstroke” camouflage, became iconic among British airborne forces, the SAS, and commandos. Yet, as Willey and Jon Baker (Curator at the Airborne Assault Museum) reveal, much of what we think we know is myth. There’s no evidence the smock was named after Major Denison—indeed, there’s no proof such a person existed. The famous “beaver tail” wasn’t designed to stop the garment riding up during jumps, as is often claimed. Willey’s video is a reminder of how easily repeated stories can become accepted fact.
Market Garden Revisited: Myths and Realities at Arnhem
Turning to Operation Market Garden, I recently watched two videos that challenge established narratives about the battle for Arnhem. The first was Niall Cherry’s Some Arnhem Myths... and a dose of reality! Part 2 on WW2TV, hosted by Paul Woodadge. Cherry, a former Royal Army Medical Corps senior NCO, has written eleven military history books. He is secretary of the Arnhem 1944 Veterans Club, a member of the 23 Parachute Field Ambulance OCA and Secretary of the Arnhem 1944 Fellowship. In the video, Cherry addresses specific myths and misconceptions with documentary evidence. Perhaps one of the most commonly held misconceptions about Market Garden is that because the radio equipment failed, the operation failed. On radios, Cherry explains that the 68 sets had known range limitations in wooded terrain. Tests in North Africa, Sicily, Italy and Normandy confirmed this. Commanders knew the Arnhem operational area exceeded set capabilities. In John Frost’s book, A Drop Too Many, he states that the failure of radio equipment was a perennial problem for Britain’s airborne forces.
Regarding the arming of British medics during the operation, establishment tables indicate that each parachute field ambulance was equipped with 123 pistols, 12 rifles, and 31 Sten guns. Of the 630 medics, only six were conscientious objectors. Photographic evidence confirms that most medics carried sidearms. As for the 21st Independent Parachute Company, the nominal rolls reveal that there were eleven foreign personnel among a total of 886 men, disproving the claim that there was a significant number of German Jews, which has become something of a myth.
In terms of planning failures, Cherry argues the 1st Air Landing Brigade should have seized the bridges at Arnhem. Air landing battalions had 750 men versus 550 in parachute battalions, formed up in seconds rather than forty minutes, and possessed superior firepower with four rifle companies, additional mortars, machine guns and anti-tank weapons. He examines General Browning’s influence on Jim Gavin at Nijmegen, where securing the Groesbeek Heights took priority over the Waal road bridge. Browning subsequently blamed Polish General Stanisław Sosabowski in a damning letter before departing for the Far East. Sosabowski's military career never really recovered from Browning’s unfounded criticisms.
During the WW2TV video, Cherry mentioned a short documentary film produced by Anglia Television on the 25th anniversary of Operation Market Garden in 1969. A quick search of YouTube, I found the programme in question, The Battle of Arnhem, directed by Harry Aldous. The programme is largely a collection of documentary interviews with many of the key protagonists and some local witnesses to events during the fighting for Arnhem and Oosterbeek.
In the documentary, Major General Roy Urquhart explained his 36-hour absence from divisional headquarters. He claimed wireless failures prompted his forward movement on the first afternoon. German opposition then trapped him with Brigadier Lathbury near St Elisabeth's Hospital. Lieutenant Colonel John Frost described reaching the Arnhem bridge intact on Sunday evening with over 500 men. Fewer than 200 remained alive and unwounded when resistance ended on Thursday morning. Brigadier John Hackett recounted arriving on Monday afternoon into active combat. His disagreement with Brigadier Pip Hicks over troop deployment at the Hartenstein reflected command confusion during Urquhart's absence.
Major General Allan Adair, Guards Armoured Division, blamed the terrain for his formation’s slow progress up the central axis of advance. The single-road approach prevented flanking movements, and the marshy Dutch polder land between Nijmegen and Arnhem, an area known as the Island, prohibited armoured manoeuvre.
SS General Wilhelm Bittrich assessed British troops as an “absolute elite” and commented on his troops' respect for their enemies. Housewife and mother, Kate ter Horst, described caring for the many wounded who packed her Oosterbeek home. Casualties filled every room. In the final segment of the programme, General Urquhart read from his 1945 report stating all ranks would willingly undertake similar operations again. Frost believed that most men who served at Arnhem, if asked, would accept another “invitation to the party”.
The Anglia Television documentary is an interesting, if uncritical, oral history filmed before later narratives worked their magic on the public imagination. The inclusion of a German perspective remains unusual for a 1969 British production. Both videos offer valuable source material. Cherry challenges operational assumptions with documented evidence. The Anglia TV program features first-hand accounts from key figures who planned, executed, and fought in the Battle of Arnhem. However, time and concerns about preserving their own reputations likely influenced the accuracy of their memories.
From the windswept South Atlantic to the battlefields of Holland, these books and documentaries reveal the enduring power of personal testimony and the importance of challenging received wisdom. Whether exposing cover-ups, debunking myths, or simply telling it as it was, each work adds a vital thread to the tapestry of military history. In revisiting these stories, we honour the lived experience and also ensure that the lessons, whether bitter or inspiring, are not forgotten.
Amazon Affiliate
This blog contains Amazon affiliate links. If you purchase books through these links, I receive a small commission at no additional cost to you. This helps support the ongoing research and content on The War Years.
References, Justice Denied:
https://www.spectator.co.uk/article/could-the-bombing-of-sir-galahad-have-been-prevented/
https://www.tandfonline.com/doi/full/10.1080/03071847.2024.2444114

Diplomats & Admirals: The Origins of the Pacific War
In this military history book review, I examine 'Diplomats & Admirals' by Dale A. Jenkins - a fascinating look at how diplomatic failures led to Pearl Harbour and the Pacific War. Jenkins, a former US Navy officer, reveals how close Japan and America came to avoiding conflict in 1941. His analysis shows how personal ambition, institutional rigidity and communication failures among key figures on both sides derailed opportunities for peace. Despite having the world’s most powerful navy in 1941, Japan's leadership understood that a war with America would likely result in defeat.
Diplomats & Admirals by Dale A. Jenkins (Aubrey Publishing Co., New York, 2022) offers a fresh perspective on one of the most studied periods of World War Two, focusing particularly on the diplomatic manoeuvring that preceded the outbreak of war between Japan and the United States. Jenkins, a former U.S. Navy officer with extensive experience in the Pacific region and later careers in international banking and Council on Foreign Relations, brings both military and diplomatic insights to this compelling story.
The book’s greatest strength lies in its detailed examination of the diplomatic efforts to prevent war in the Pacific. Jenkins meticulously documents the complex web of personalities, policies, and missed opportunities that ultimately led to conflict. His portrayal of key figures such as Japan’s Prince Konoe, Foreign Minister Matsuoka, and US Secretary of State Cordell Hull reveals how personal ambition and rigid thinking often trumped rational diplomacy. Particularly telling is his description of Matsuoka, who “was interested, not in promoting the interests of Japan, but rather those of Matsuoka Yosuke,” and who was willing to “gamble the future of Japan and its seventy-seven million people” for his own political advancement.
Jenkins presents several fascinating “what-if” scenarios where war might have been avoided. One particularly striking example involves the Dutch East Indies oil negotiations, where Jenkins suggests that “willingness to allow a modest flow of oil could have precluded the Japanese invasions” and potentially removed the threat of Japanese economic collapse that drove them toward war.
The book’s treatment of the military aspects of the conflict, while competent, covers more familiar ground. However, Jenkins still manages to provide interesting insights, particularly in his analysis of the Japanese naval leadership’s persistent attachment to battleship warfare despite the rising dominance of aircraft carriers in naval engagements. This is notably illustrated in his discussion of Admiral Yamamoto’s planning for the Battle of Midway, where “despite his development of the carrier force, its unprecedented attack on Pearl Harbor (sic), and its victories in the south Pacific and Indian Ocean prior to Midway, Yamamoto compulsively remained a battleship admiral.”
One of the book’s most valuable contributions is its examination of the communication failures between different branches of government and military services. A prime example is Jenkins’ observation that Hull’s diplomatic stonewalling tactics stemmed partly from “the mistaken belief that in a war with Japan US forces would prevail in a few months,” noting that “taking five minutes to talk with Admiral Stark on the power of the Japanese navy never occurred to him.”
The narrative is strengthened by Jenkins’ ability to weave together the personal, political, and military aspects of the story. His background in both naval service and international affairs allows him to provide nuanced analysis of both the diplomatic scheming and military operations.
Today, it is easy to forget that back in 1941, Japan possessed the world’s most powerful navy and some of the most advanced aircraft. As Jenkins notes, the Japanese had developed “carrier operations and armaments that were, at that time, the most advanced in the world,” including the highly manoeuvrable Mitsubishi A6M Zero long range fighter. Meanwhile, the U.S. Navy was struggling with obsolete equipment - Jenkins points out that “in the early months of the war, the US Pacific Fleet was hampered by obsolete torpedo planes and hopelessly ineffective World War I torpedoes.” The fact that American naval forces managed to achieve victory at Midway despite these disadvantages makes their triumph even more remarkable and a testament to the courage of their pilots.
Diplomats & Admirals serves as both a fascinating historical account and a cautionary tale, demonstrating how personal ambition, institutional rigidity and failures of communication can lead nations into unnecessary conflict. Many readers, even those familiar with the Pacific War, might be surprised by Jenkins’ revelations about the missed opportunities for peace and the tragic consequences that followed. This well researched work is a valuable addition to the literature on the Second World War, offering insights into the complex, often murky diplomatic negotiations that preceded a conflict which would ultimately cost 25 million lives.
- END –
Image Attribution:
Wikipedia.org: An Imperial Japanese Navy Mitsubishi A6M2 “Zero” fighter on the aircraft carrier Akagi during the Pearl Harbor attack mission. https://en.wikipedia.org/wiki/Attack_on_Pearl_Harbor#/media/File:A6M2_on_carrier_Akagi_1941.jpeg
Wikipedia.org: Secretary of State Cordell Hull (1887–1955) brought Japanese Ambassador Kichisaburō Nomura (1877–1964, left) and Special Envoy Saburō Kurusu (1886–1954, right) to the White House for a meeting with President Franklin Roosevelt (1882-1945) on 17 November 1941. https://en.wikipedia.org/wiki/Cordell_Hull#/media/File:Hull,_Nomura_and_Kurusu_on_7_December_1941.jpg
Wikipedia.org: U.S. Navy Torpedo Squadron 6 (VT-6) Douglas TBD-1 Devastator aircraft are prepared for launching aboard the aircraft carrier USS Enterprise (CV-6) at about 0730-0740 hrs, 4 June 1942, Battle of Midway. https://en.wikipedia.org/wiki/Battle_of_Midway#/media/File:Douglas_TBD-1_Devastators_of_VT-6_are_spotted_for_launch_aboard_USS_Enterprise_(CV-6)_on_4_June_1942_(80-G-41686).jpg
_on_4_June_1942_(80-G-41686).jpg)